You can easily send the captured UTM parameters from your WooCommerce Orders to Pabbly Connect using our AFL UTM Tracker plugin.
For this Pabbly Connect example, we will send the UTM Source, UTM Medium and UTM Campaign value from your WooCommerce Order to a Google Sheet.
Steps
Create a WooCommerce Trigger
- Login to Pabbly.com
- Click into Pabbly Connect.
- Create a new Trigger.
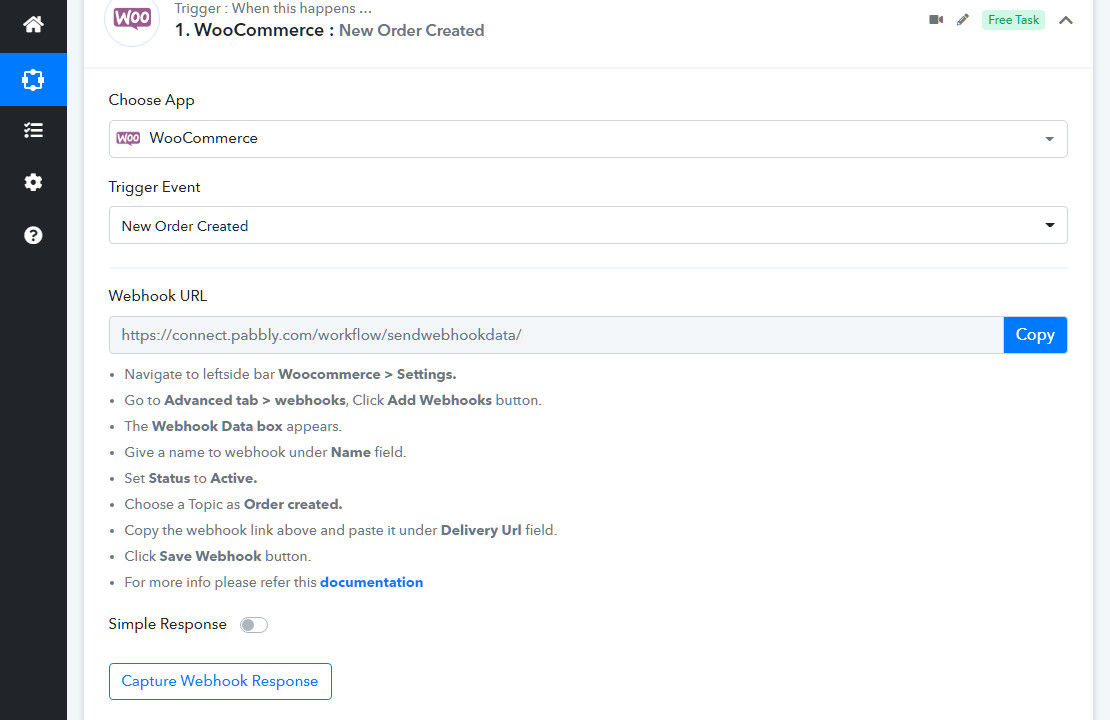
- In the Choose App field, search for WooCommerce.
- In the Trigger Event field, select ‘New Order Created‘.
- Follow the on-screen instructions to add a Webhook in your WooCommerce > Settings.
- Disable the Simple Response slider.
- Click the ‘Capture Webhook Response’ button.
Create a new Webhook in WooCommerce
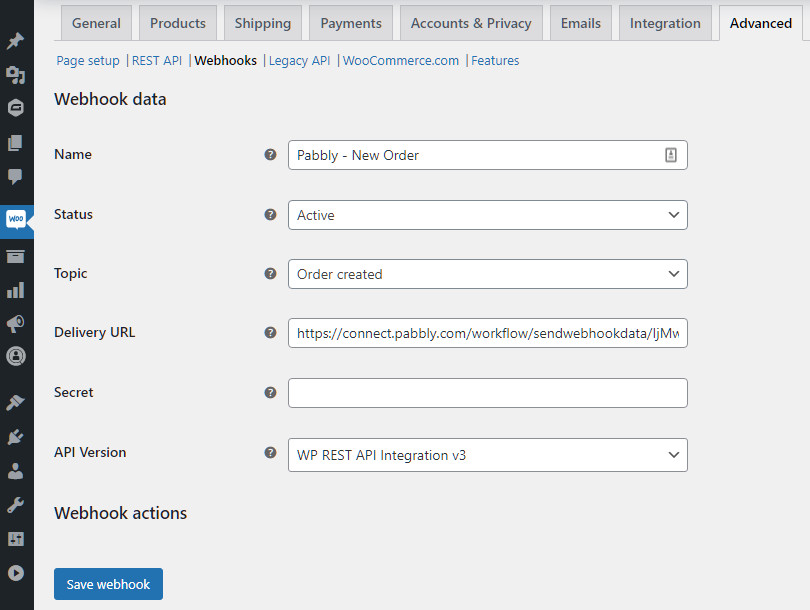
- Go to your WooCommerce admin.
- Under WooCommerce > Settings > Advanced > Webhook.
- Create a new Webhook.
- Enter a suitable Name.
- Set the Status to Active.
- Set the Topic to ‘Order created‘.
- Copy the Webhook URL from Pabbly and paste into the Delivery URL below.
- Save webhook.
Create a test WooCommerce Order
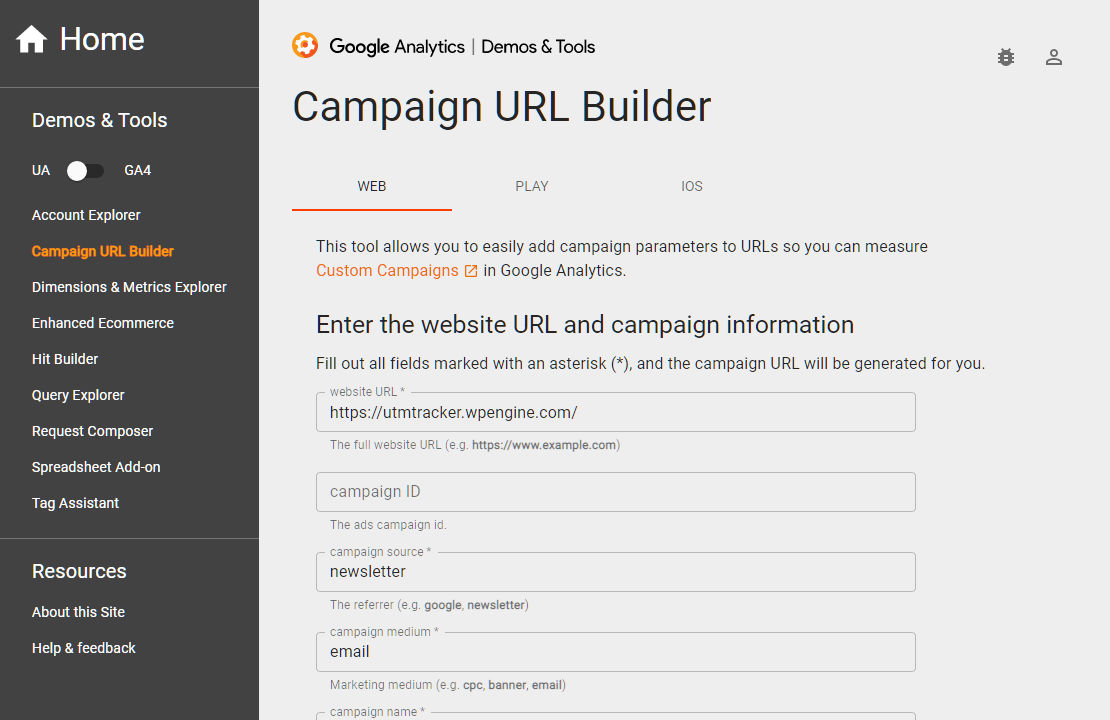
- Generate a UTM campaign URL using Google Campaign URL Builder.
- Open the campaign URL in a Incognito/Private Browser mode to simulate a new visitor.
- Add an item to your cart.
- Checkout and place the order.
Receive the Pabbly Webhook Response
- Wait for Pabbly to receive the WooCommerce webhook response.
- Proceed to the next step.
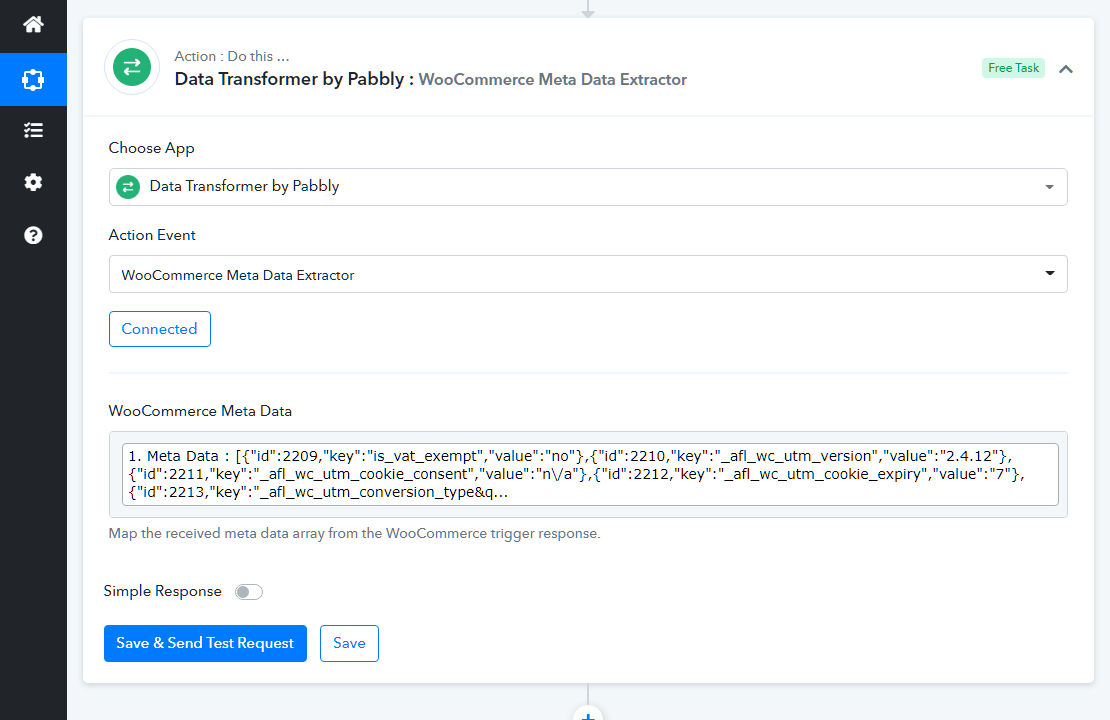
Add a WooCommerce Meta Data Extractor Action Step
- Click the + sign to add a new action step.
- In the Choose App field, search for the Data Transformer by Pabbly.
- In the Action Event field, select the WooCommerce Meta Data Extractor.
- Click the Save button.
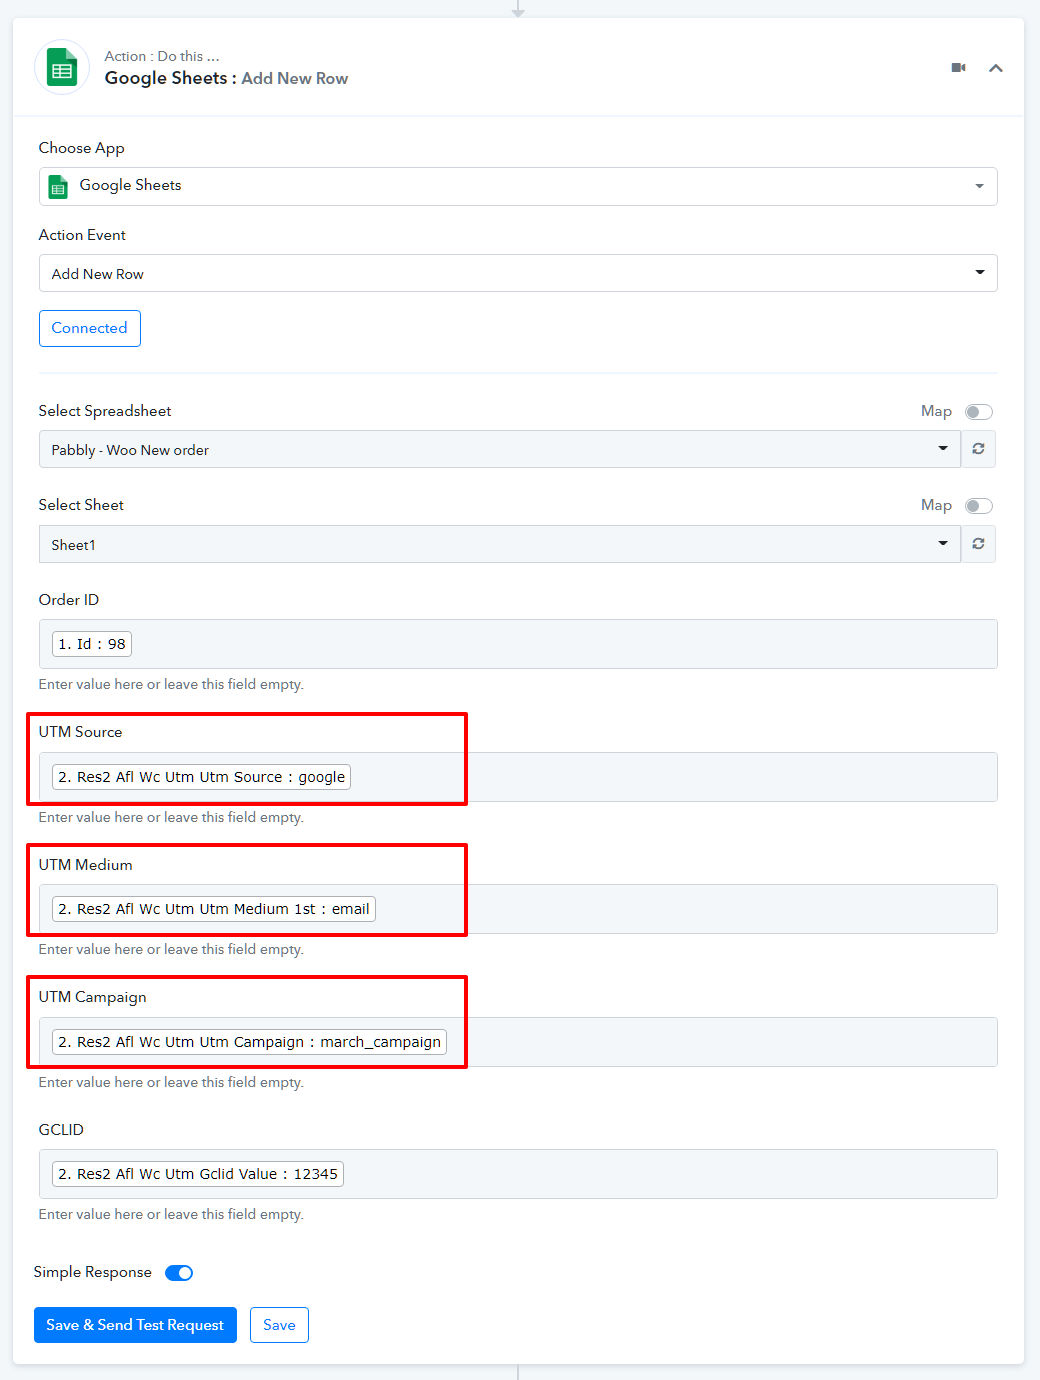
Add a Google Sheet Action Step
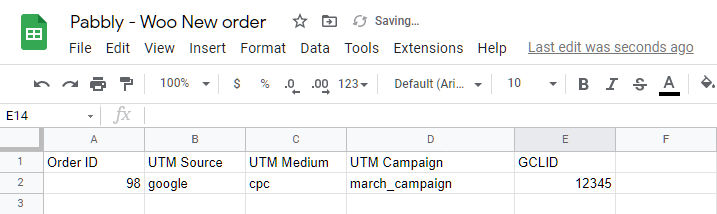
- In your Google Drive, create a new Google Sheet or use an existing Sheet.
- Add 3 new columns (UTM Source, UTM Medium and UTM Campaign) into the Sheet.
- In Pabbly, click on the + sign to add a new action step.
- In the Choose App field, search for Google Sheets.
- In the Action Event field, select ‘Add New Row’.
- Click the Connect button and login to your Google Account to authorize access.
- Select your Spreadsheet.
- Select Sheet 1.
- Map the columns to the appropriate data.
- Save & Send Test Request.
- Done!