Once you have purchased the AFL UTM Tracker plugin, you can get a copy of the plugin’s installation zip file from your Account > Downloads page.
You will continue to have access to the plugin updates as long as you have an active subscription with us.
Minimum Plugin Requirements
- WordPress 5.0
- PHP 7.4 to 8.3.0
- Requires website with HTTPS (SSL certificate)
Plugin Installation
- Login to your WordPress Admin.
- Add a new plugin by browsing to (Plugins > Add new).
- Click on the Upload plugin button.
- Click on the Choose file button.
- Select our plugin zip file from your computer’s directory.
- Click on the Install Now button.
- Click on the Activate Plugin button.
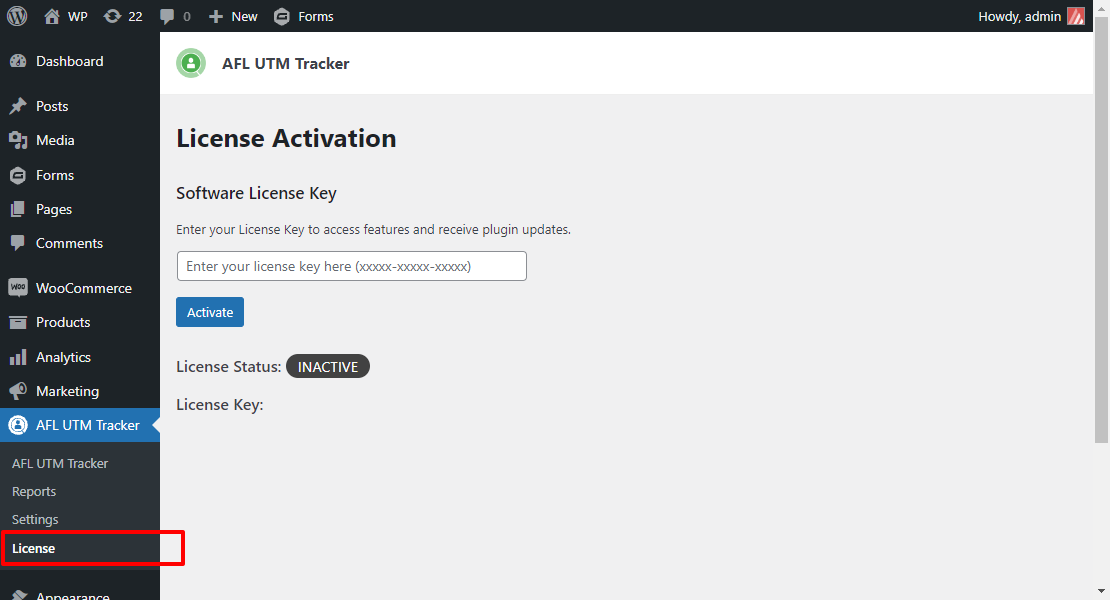
Activating the License
- Copy your license key from your Account > Licenses page.
- Go to your WordPress admin, click into the AFL UTM Tracker > License page.
- Paste your License Key into the text box.
- Click the Activate button.
If you purchase the “WordPress Multisite Network” License, you will only need to activate once on the main site.
Clearing Page Cache
If you’re using any caching plugin or caching services, you would need to clear all the caches so that our JavaScript file is loaded in your HTML pages for the first time.
You will also need to clear cache whenever you have change our plugin settings or install a plugin update.
- Caching plugin > Clear all cache
- Hosting caching plugin > Clear all cache
- Cloudflare or Edge-server caching > Clear all cache
Note: You might want to clear it a couple of times to really make sure it is cleared so that our JavaScript tracking file is loaded on all of site pages.