You will be able to send the captured UTM parameters from your Gravity Forms submissions to any webhook URL using our AFL UTM Tracker plugin and the Gravity Forms Webhook Add-on.
We will be using Zapier’s Webhook for our tutorial.
For a full list of conversion attribution values which you can access, please view our Attribution Meta List.
Requirement / Compatibility:
- Gravity Forms Webhook Add-on version 1.5.0 or higher.
- Gravity Forms Webhook Add-on version 1.3.0.
NOTE: Some version may require you to download the add-on from the Gravity Forms official website.
Steps
f you have an existing Zap, skip to step 17 and run the Test Trigger again to pull in the new data structure.
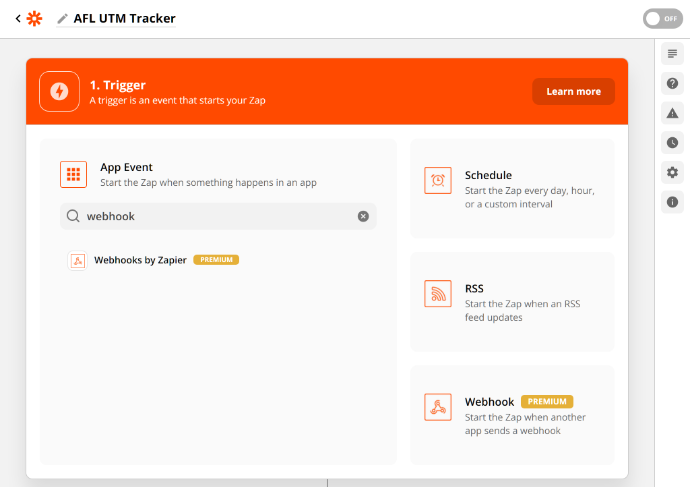
- Go to Zapier.com.
- Create a new Zap.
- Search for ‘Webhook by Zapier‘.
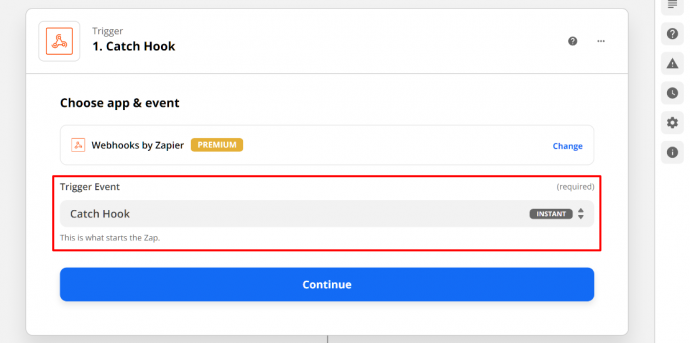
- Set the Trigger Event to ‘Catch Hook‘ and Continue.
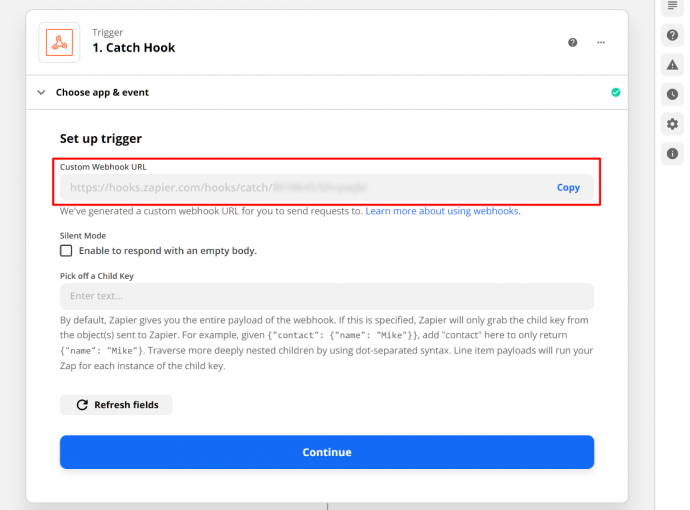
- Copy the Custom Webhook URL and Continue.
- Go to your WordPress Admin.
- Make sure that you have already installed the Gravity Forms Webhook Add-on.
- Select a Form > Settings > Webhook.
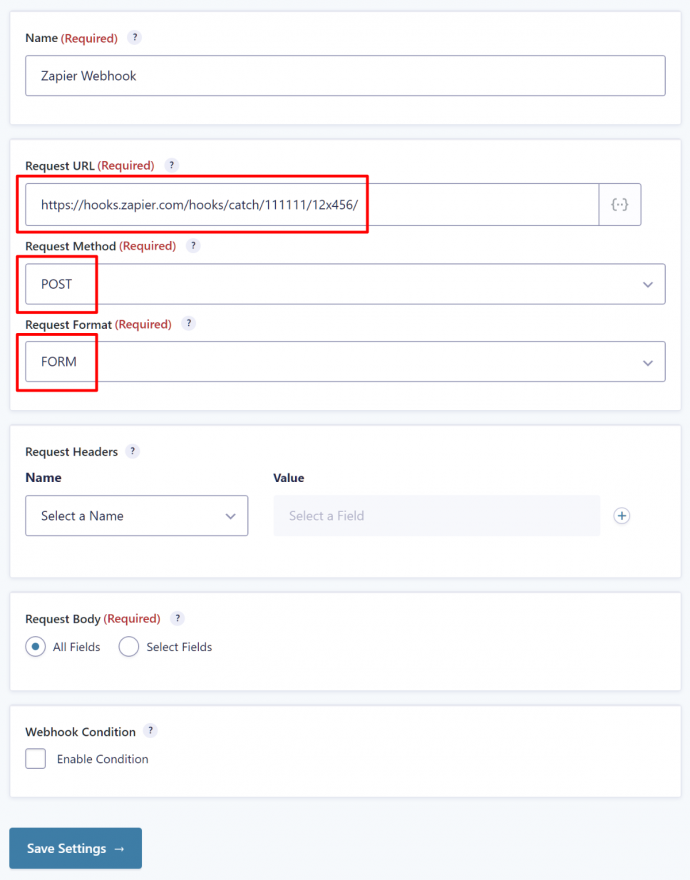
- Add a New Webhook.
- Paste the Custom Webhook URL into the Request URL.
- Set the Request Method as POST.
- Set the Request Format as FORM.
- Save Settings.
- Return to Zapier.com.
- Below the Refresh Fields button, click on Continue.
- Don’t click on the Test Trigger button yet.
- Go to your website and submit your form.
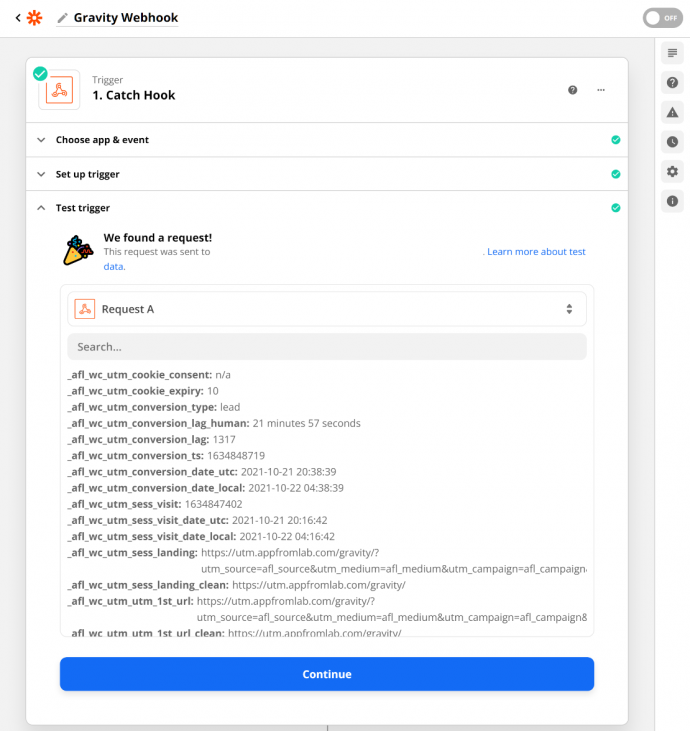
- Go to Zapier.com, click on the Test Trigger button.
- You will see a list of our variables with the _afl_wc_utm prefix.
- Click Continue to add your Action.