You will be able to send the UTM parameters from your Fluent Forms submissions to Zapier using our AFL UTM Tracker plugin and the Fluent Forms Webhook module.
For a full list of conversion attribution values which you can access, please view our Attribution Meta List.
Steps
Create Webhook Trigger on Zapier
- Login into your Zapier account.
- Create a new Zap.
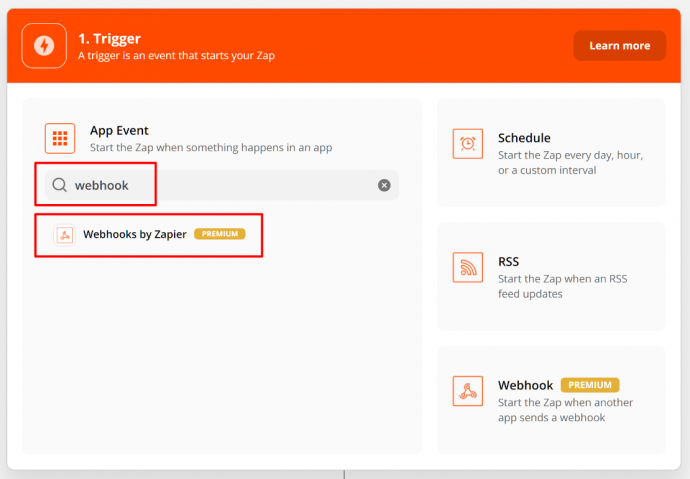
- Search for Webhook.
- Select the Webhooks by Zapier.
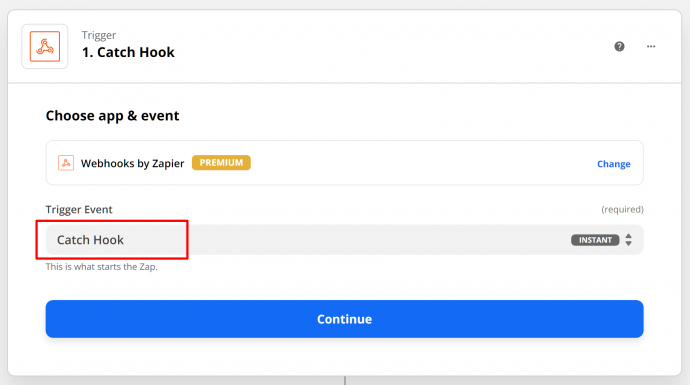
- Set the Trigger Event to Catch Hook.
- Continue.
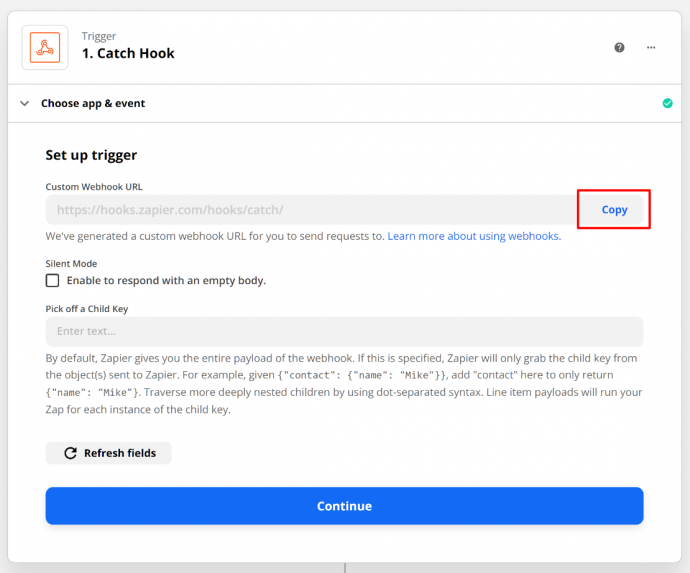
- Click Copy to copy the Custom Webhook URL.
Setup Webhook in Fluent Forms
- In your WordPress admin, go to your Fluent Forms.
- Enable the Webhook module in the Integration Modules.
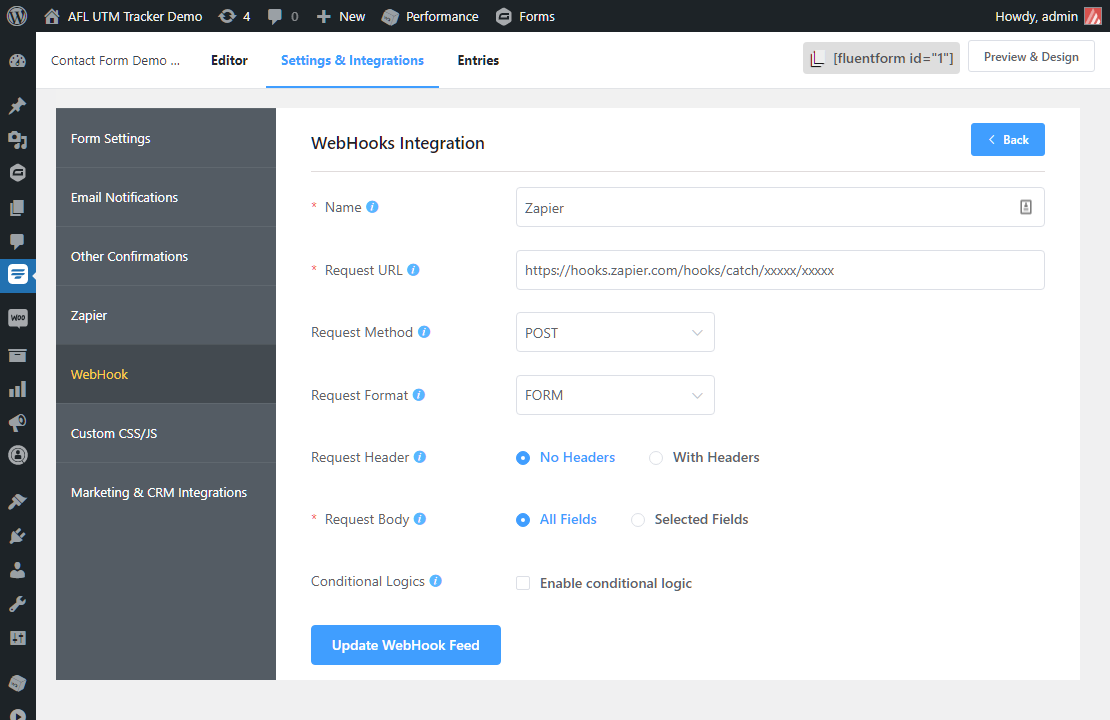
- Select a Form > Settings > Webhook.
- Add a new Webhook.
- Paste the Zapier’s Custom Webhook URL into the Request URL field.
- Update Webhook Feed.
Testing the Webhook
- Make sure that you have already setup AFL UTM Tracker in Fluent Forms.
- Launch your website with the UTM URL in Private Browsing mode to simulate a new visitor.
- Fill and submit a form.
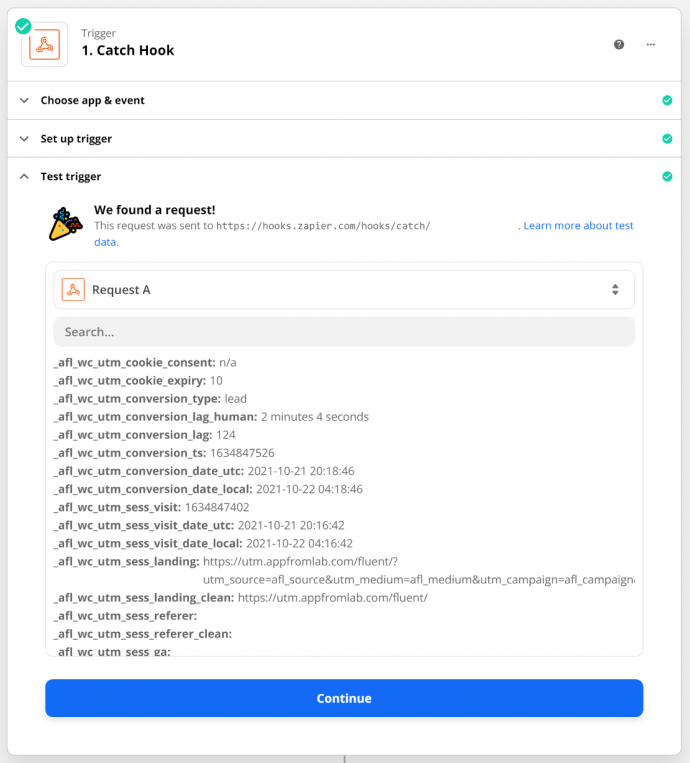
- Go back to the Zapier’s website and click Test Trigger.
- Click on the Request A dropdown to refresh if the data has not come into Zapier.
- Continue.
- Create an Action for any Zapier app (e.g Google Sheets, CRM) and you will be able to select the attribution data from the dropdown menu.