Calendly became a very popular free appointment tool with many WordPress-based websites. With Calendly, you can easily embed the Calendly Widget into any page just by pasting a one-line embed code.
But how do digital marketers track the conversions for the Calendly appointments?
Under the Calendly’s Help Centre, there’s a tutorial about “Source tracking with your Calendly embed and UTM parameters“, but the drawback is that it mainly make use of static UTM parameters where digital marketers will have to use a single landing page for every individual campaign.
But what if your website has a ton of landing pages or blog posts that leads to one Calendly Widget embedded in your contact page? How do you pass various UTM campaigns to Calendly?
Tracking Dynamic UTM parameters
When you are running multiple marketing campaigns at the same time, the UTM parameters from each campaign will definitely be different.
So how do you pass these dynamic UTM parameters to Calendly? Well by using JavaScript.
- On the first website visit, capture any UTM parameters from the browser address bar and store the UTM values in the browser cookies.
- Whenever the UTM parameter changes in the browser address bar, update the browser cookies with the new UTM parameter values.
- On every page where Calendly is embeded, retrieve the UTM parameters from the browser cookies and place them in the Calendly initialization function.
If writing JavaScript code is not your forte, do give our WordPress plugin below a try.
Using a UTM Tracking WordPress plugin
To provide you with a little background, we initially built the AFL UTM Tracker plugin so that WooCommerce store owners and Gravity Forms users can easily capture the UTM parameters and our plugin will provide a full conversion report whenever a conversion happens.
As our customer base grows, our customers have requested for an integration with Calendly. So we added a small feature which allows our customers to easily capture the UTM parameters and pass them into the Calendly Embed code.
With our WordPress plugin, you can either pass the first touch or last touch UTM parameters to Calendly.
Here’s how to get started:
- Get our AFL UTM Tracker plugin.
- Clear all page cache so that our JavaScript tracking file is loaded in the front-end.
- Get our Calendly HTML code.
- Place the code in your WordPress page.
Get our Calendly Inline Widget Code
- Copy and edit the Calendly Inline Widget HTML code below.
- On Line 3, paste your own Calendly URL into the data-url=”” attribute.
- On Line 4, make adjustments to the CSS style=”” attribute to fit the widget to your website layout.
- On Line 5, decide if you want to pass First Touch or Last Touch UTM parameters to Calendly (refer setting options below).
- On Line 7, replace the MYDOMAIN_NAME with your website URL. This will load our plugin script for Calendly.
- In your page editor, placed a “Custom HTML” component into your page layout and paste the code.
- Save page.
- Run a test on your Calendly Inline Widget.
Looking for other types of Calendly Embed Widget?
Take a look at our setup documentation for:
Making a test Calendly appointment
- Start by generating a UTM URL with Google’s Campaign URL Builder.
- Open the UTM URL in a private-browser mode (Incognito mode) as to simulate a new visitor.
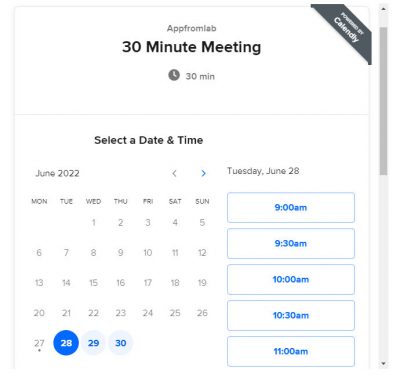
- On the website page where you have embedded the Calendly Widget, start selecting an Appointment slot.
- Submit the Calendly form.
- Sign-in to your Calendly.com.
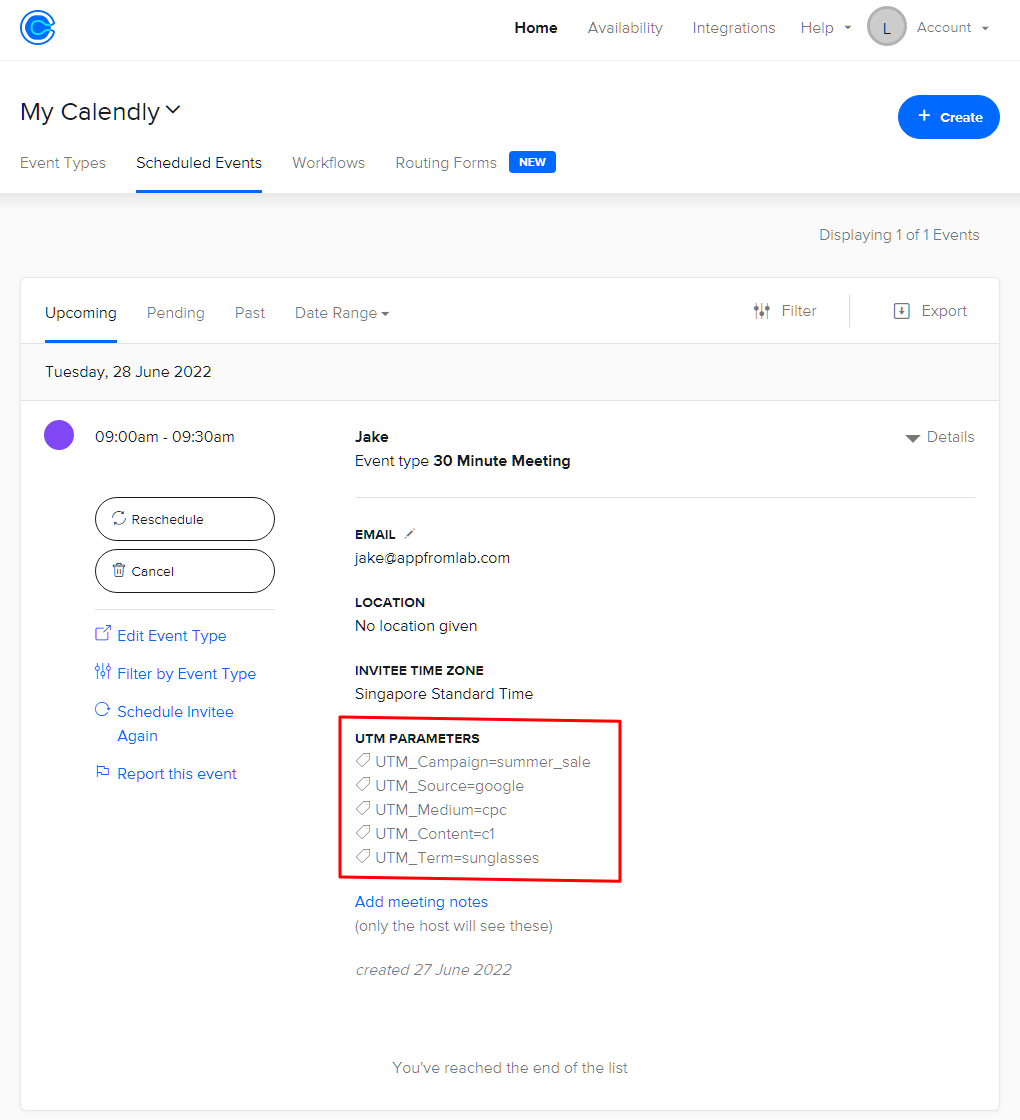
- Under your Scheduled Events > Upcoming Events > click on the entry which you have submitted.
- Under the UTM PARAMETERS section, you will see the respective UTMs (utm_source, utm_medium, utm_campaign, utm_content, utm_term).