You can easily setup Stripe Risk Score for WooCommerce by using our AFL Stripe Risk Score plugin.
Minimum Requirement
- WooCommerce v3.6.0
- WooCommerce Stripe Payment Gateway v7.8.1
- Enable Stripe Radar for Fraud Team
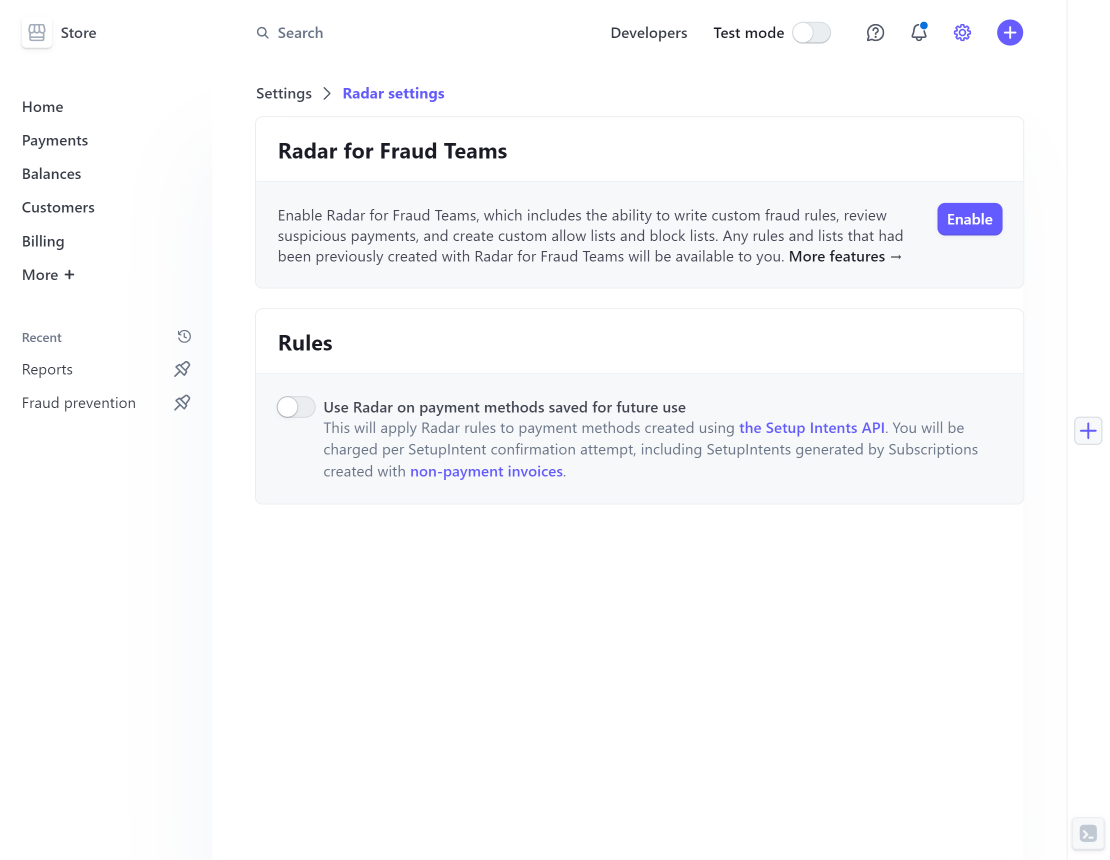
Enable Stripe Radar for Fraud Team
- Login to your Stripe Dashboard.
- Go to the Radar Settings page (Settings > Radar settings).
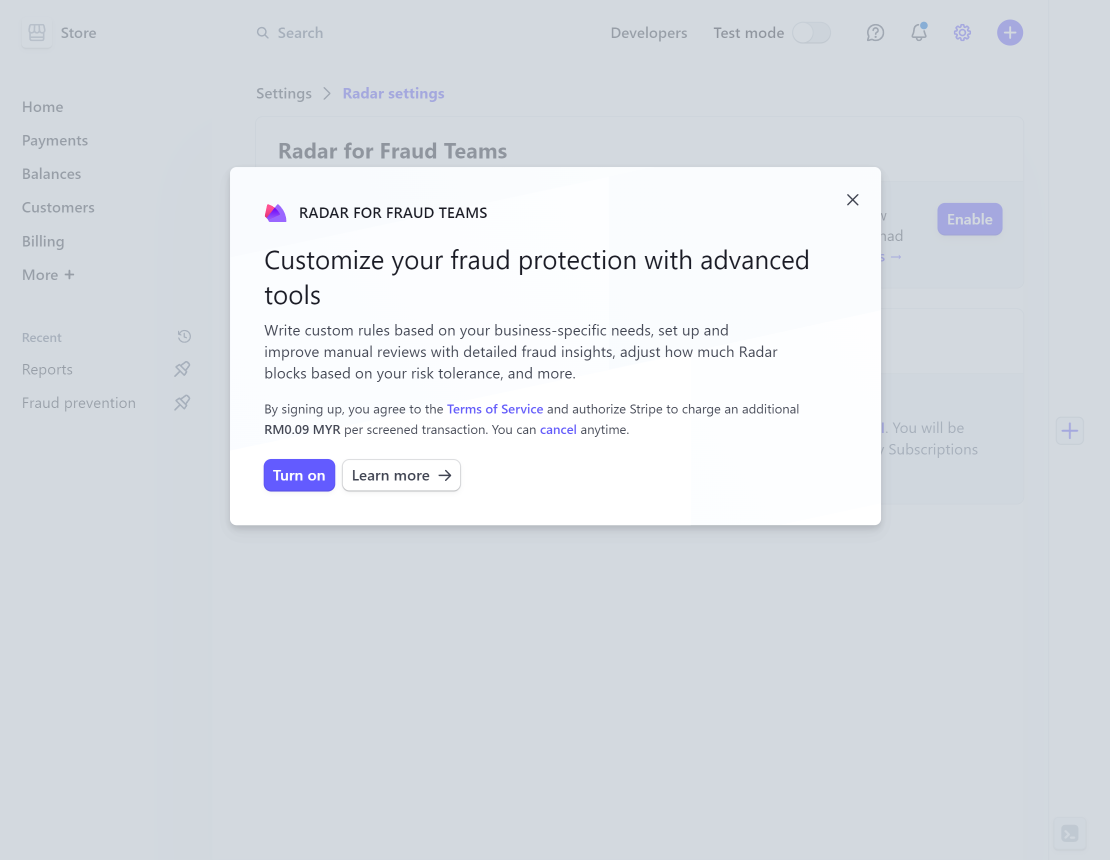
- Tick on Enable the Radar for Fraud Teams.
- Click on the Turn on button.
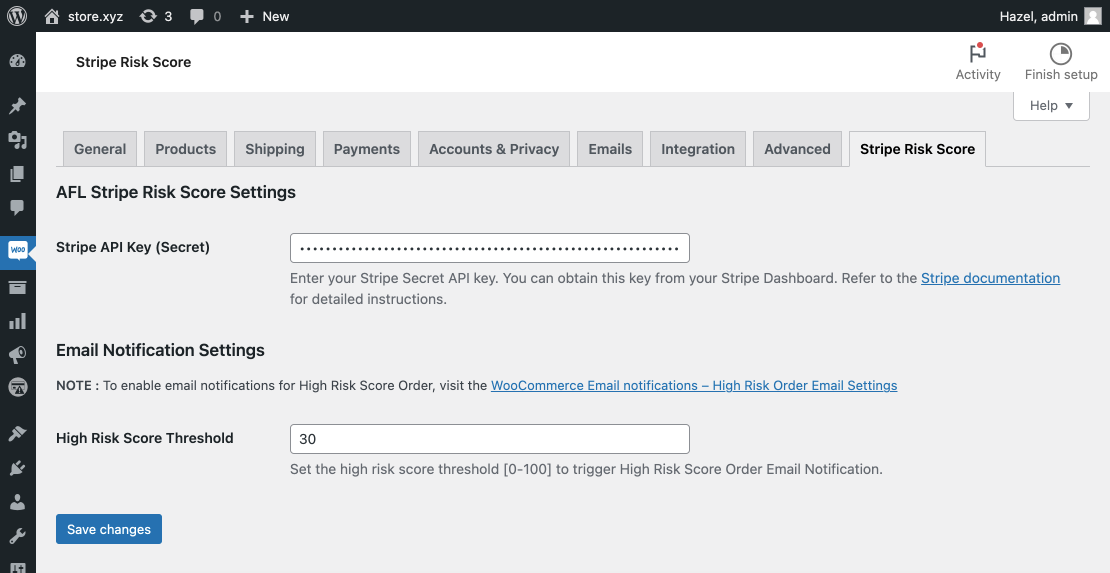
Setup Settings
- Login to your WordPress Admin.
- Go to the WooCommerce > Settings page.
- Click on the AFL Risk Score menu tab.
- Set the “High Risk Score Threshold” [0 – 100] for when the “High Risk Score Order” email notification is sent out.
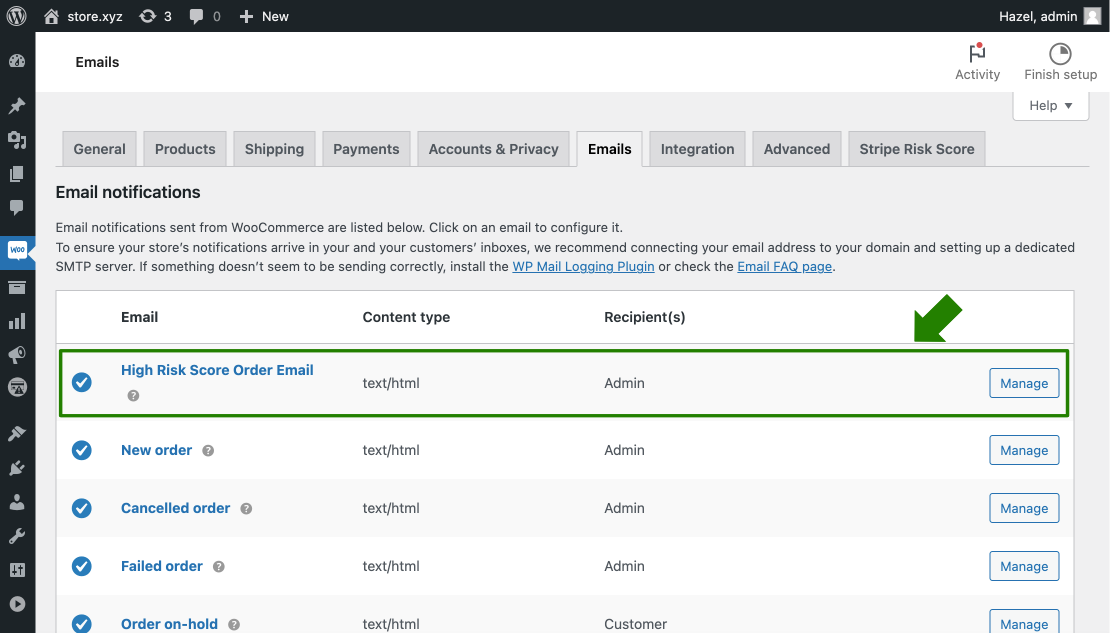
High Risk Score Order Email Notification
- Go to the WooCommerce > Settings page.
- Click on the Emails menu tab.
- Look for the High Risk Score Order Email row and click on the Manage button.
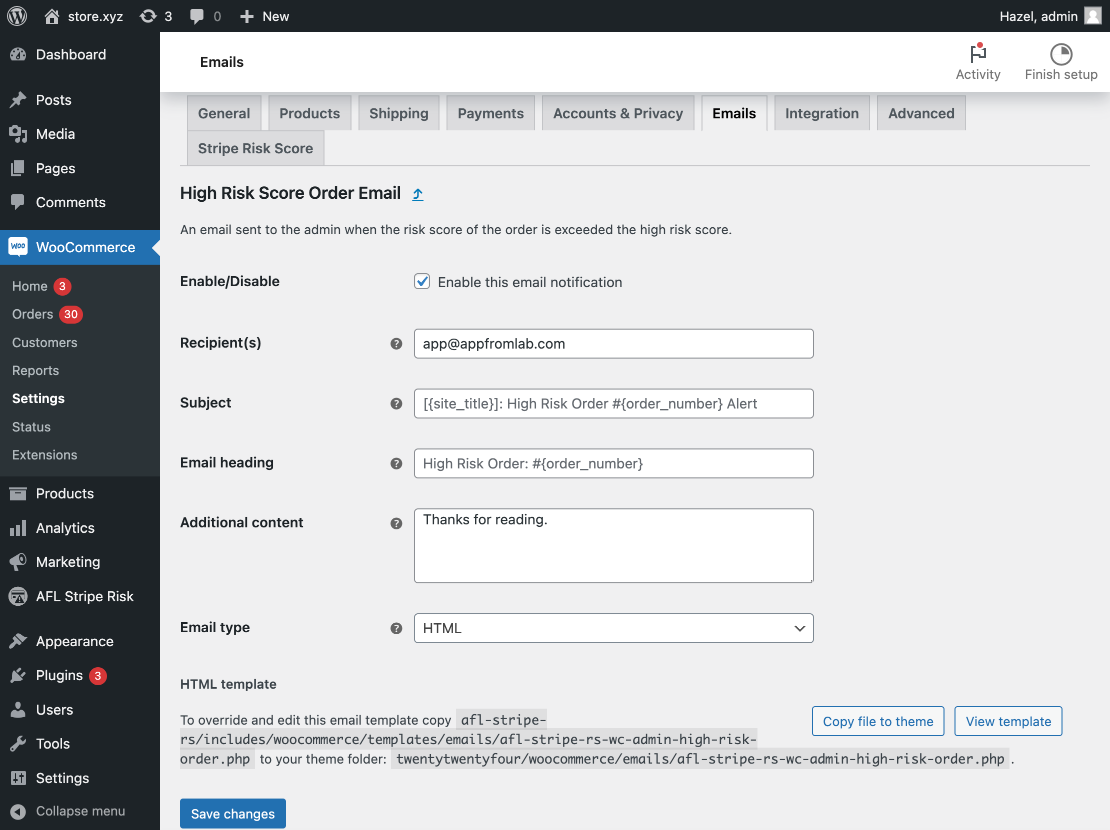
- Tick on Enable the email notifications.
- Click on the Save changes button.