Once you have purchased the AFL Risk Score for WooCommerce Stripe Payment Gateway plugin, you can get a copy of the plugin’s installation zip file from your Account > Downloads page.
You will continue to have access to the plugin updates as long as you have an active subscription with us.
Minimum Plugin Requirements
- WordPress 5.0
- PHP 7.3 to 8.2.0
- WooCommerce plugin
- WooCommerce Stripe Gateway plugin
- Stripe Radar for Fraud Teams
Plugin Installation
- Login to your WordPress Admin.
- Add a new plugin by browsing to (Plugins > Add new).
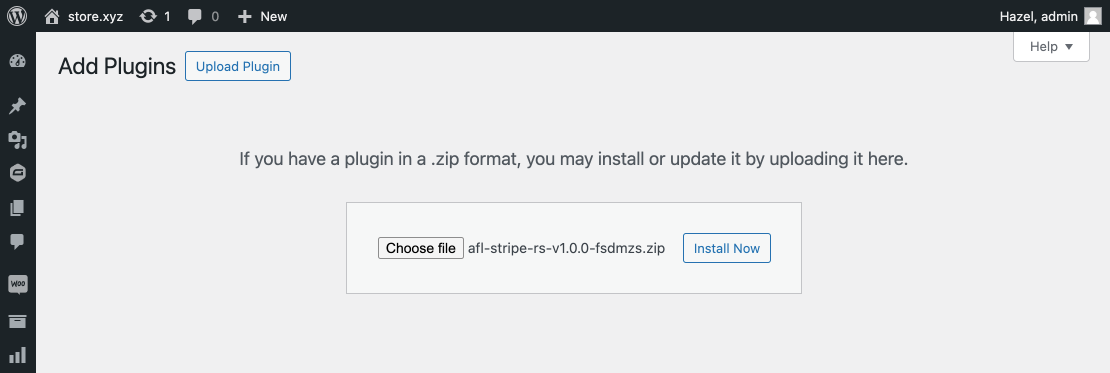
- Click on the Upload plugin button.
- Click on the Choose file button.
- Select our plugin zip file from your computer’s directory.
- Click on the Install Now button.
- Click on the Activate Plugin button.
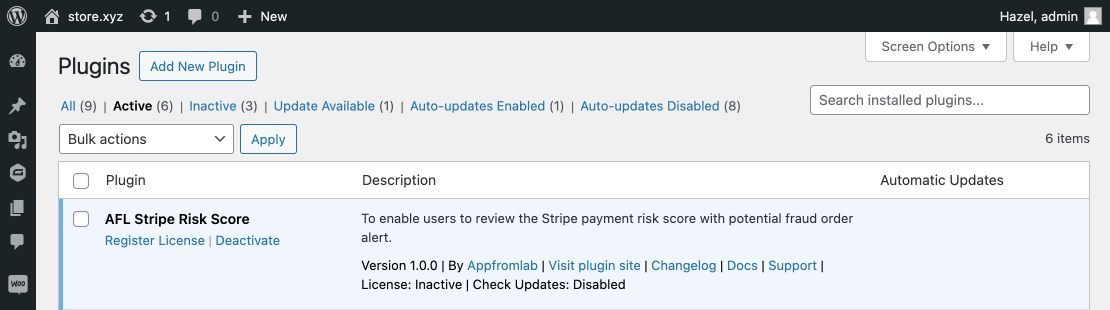
And once it is activated, it will be listed under your Active Plugins as below
Activate the License
- Copy your license key from our website (Account > Licenses page).
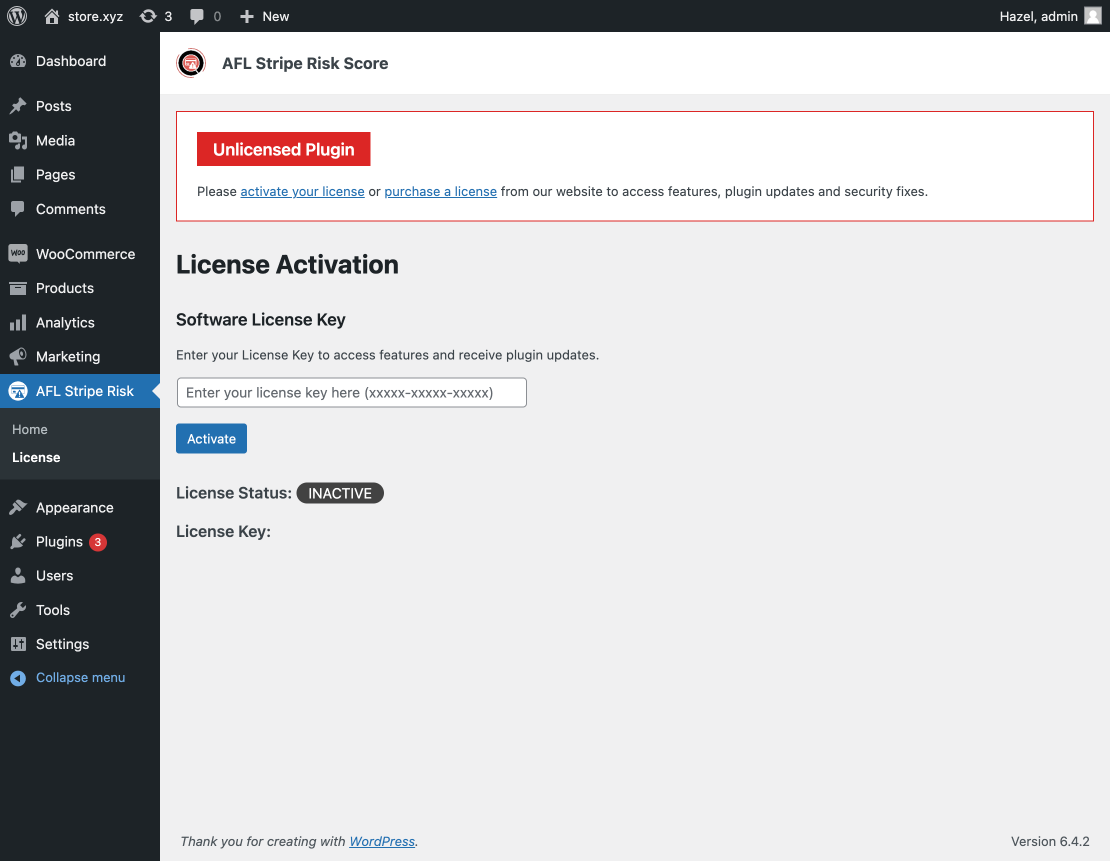
- Go to your WordPress admin, click into the AFL Risk Score > License page.
- Paste your License Key into the text box.
- Click the Activate button.
That’s all for installing and activating AFL Risk Score for WooCommerce Stripe Payment Gateway plugin on your WordPress website.
Next Step
Follow the Setup Stripe Risk Score for WooCommerce documentation.